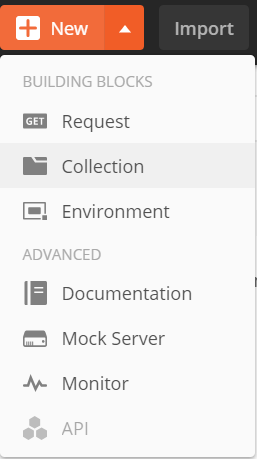
Postman Creating Collections Creating a new collection A new collection can be created from the following options in Postman. 1. New button in the Header bar
- Go to New button in the header bar; click on Collection option.
- A new window will pop up, as shown in the image below.
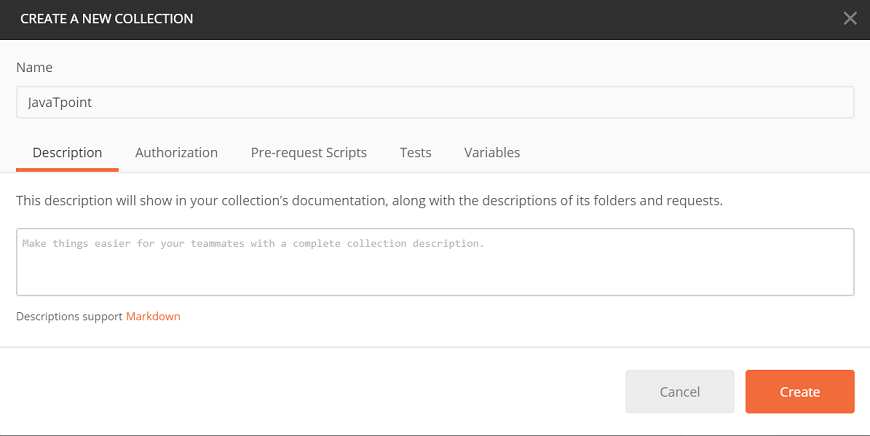
- Name your Collection, and you can add an optional description.
- Go to the authorization tab and select an authorization type.
- Add a Pre-request script, which will execute before every request in this Collection.
- Add tests, which will execute after every request in this Collection.
- Add variables, which will be specific to this Collection and its requests.
- Finally, click on the Create button, as shown in the image below, to save the Collection.
2. Collection tab in Sidebar
- In the sidebar of Postman, click on the Collection tab and then select the New Collection option, as shown in the image below.
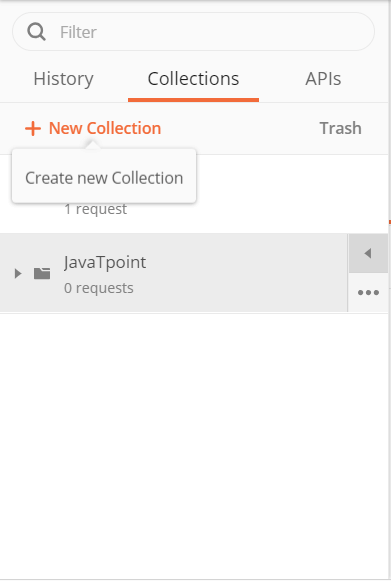
- Again the same window will pop-up on the screen, then repeat the same procedure of authorization, variables, etc. to create the new Collection.
3. Create a collection option in the Launchpad
- After you open the Postman app, in the builder section, you will get the launch pad.
- In the launchpad, under the Start Something New tab, you will get Create a Collection option, as shown in the image below.
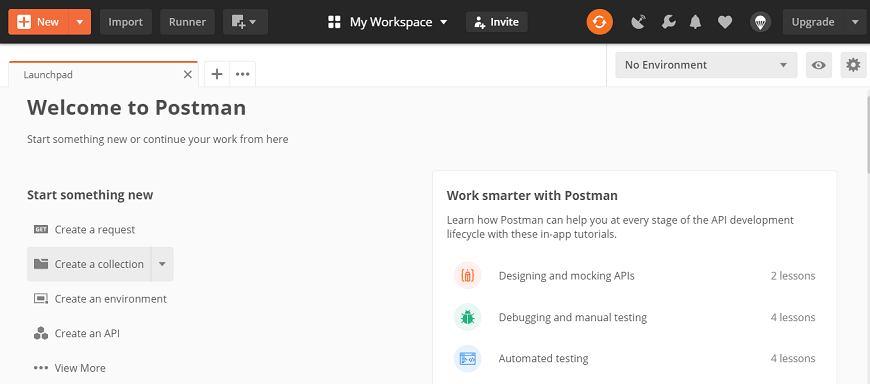
- Once you click on Create a collection option, a new window will pop-up on the screen.
- You will have to follow the same procedure of authentication, tests, variables, etc. as discussed earlier to create a new collection.
Saving a request to a collection Whenever you create a new request in the Postman, you can save it as an individual request or in a new collection/folder or the existing collection/folder. You can create a new request from the following options, also mentioned in the image below. 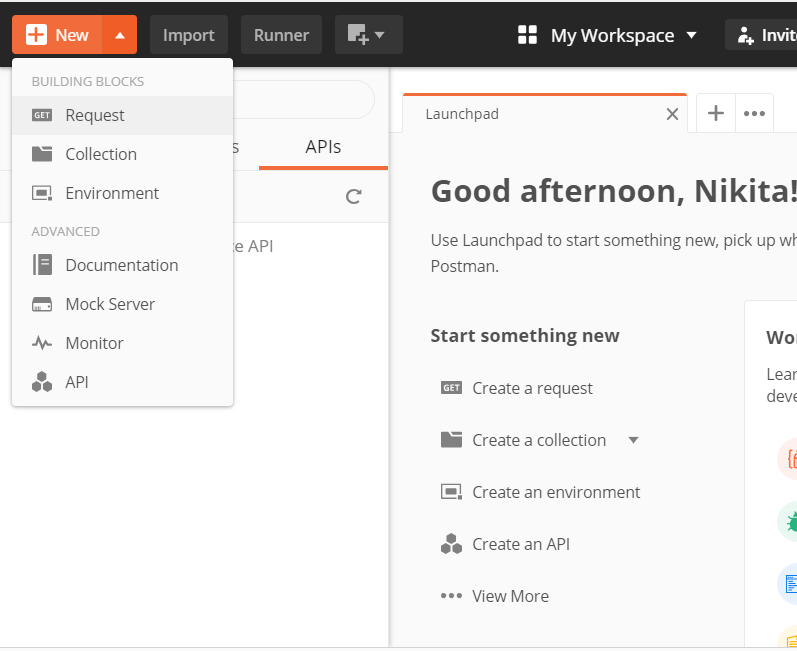
- New button in the sidebar
- Create a request option in the launch screen
- Builder section
- Whichever option you choose to create the request, you will get the below-mentioned window to Save
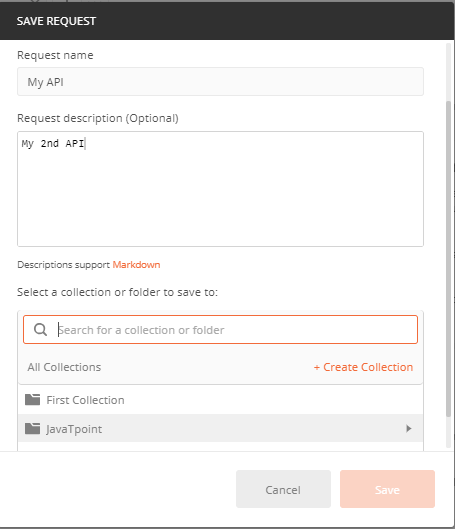
- Enter the request name, optional request description, and then select a collection or folder from 'select a collection or folder to save to' option, as shown in the image.
- You can also create a new collection by clicking on +Create Collection.
- Now click on the Save button to save the request.
Saving a request to a collection from history To save the request from history to an existing or a new collection, follow the following procedure.
- Go to the History tab in the sidebar of Postman then click on the (+) button to save the request. As given below:
- A new Save Request window will pop-up on the screen, follow the same procedure and save the request to a new or existing collection.

Duplicating an existing collection
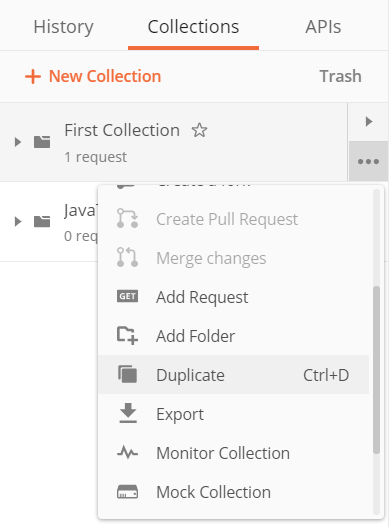
- To duplicate a collection already saved in the Postman, go to the Collection tab of the sidebar.
- Select the Collection that you want to duplicate, click on the (…) option to expand and click on Duplicate from the drop-down menu to duplicate the selected Collection.
|