-
Postman Tutorial
- postman-tutorial
- installation-updates
- postman-navigation
- sending-your-first-request
- creating-first-collection
Sending API Requests
- creating-requests
- authorizing-requests
- get-request-in-postman
- response-in-postman
- request-parameters
- post-request
- postman-cookies
Collections
Variables
Scripts
- intro-to-scripts
- pre-request-scripts
- test-scripts
- test-examples
- workflows-in-postman
- asserts-in-postman
- chai-assertion-library
Mock Servers
Postman API
Postman NavigationAfter downloading and installing Postman in our system, we will now discuss the user interface of Postman to learn about the features and terminologies that Postman offers. We can split the postman navigation into four UI structures, as shown in the image below. 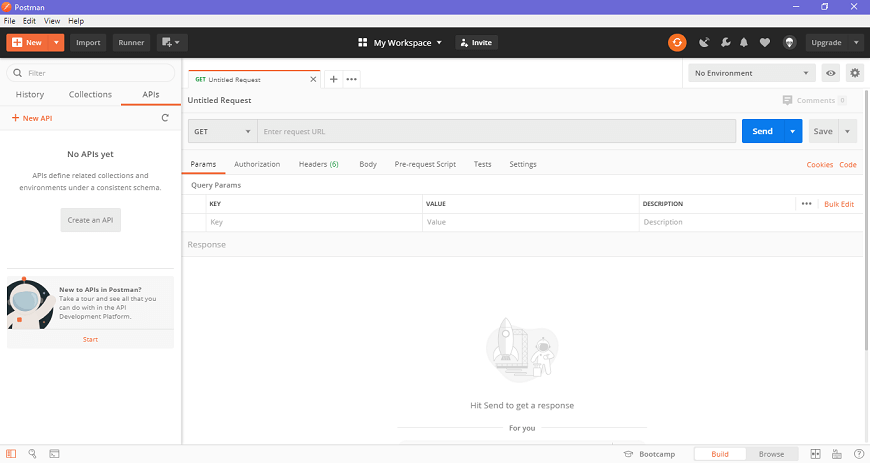
1. Header barHeader bar contains the following options- New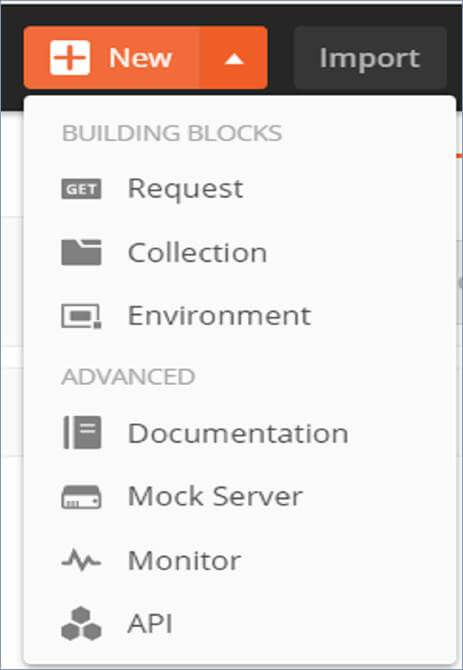 The new option is used for the following tasks Request It is used to create a new request, where you can create and save requests by entering the request name and can use it in the future. 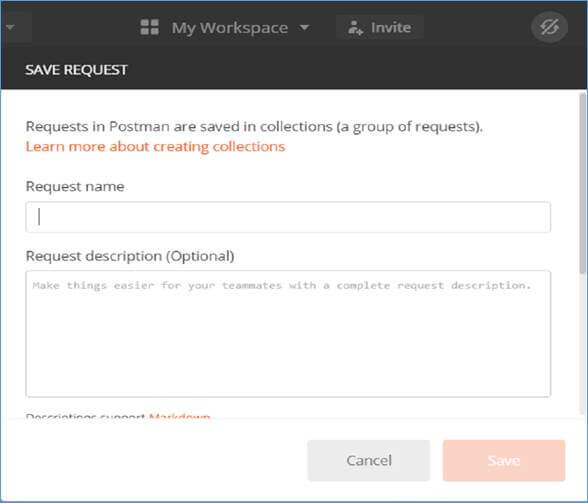 Collection It saves your requests in the form of a collection for reusing and sharing. 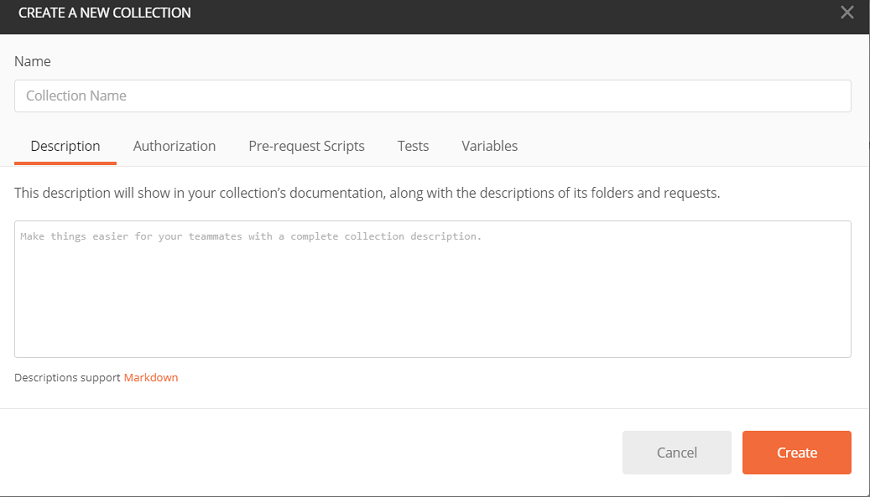 Environment Environments are variables with key-values. Every variable name represents its key. So if we reference the name of the variable, it enables us to access its corresponding value. So it basically saves the values you frequently use in an environment. 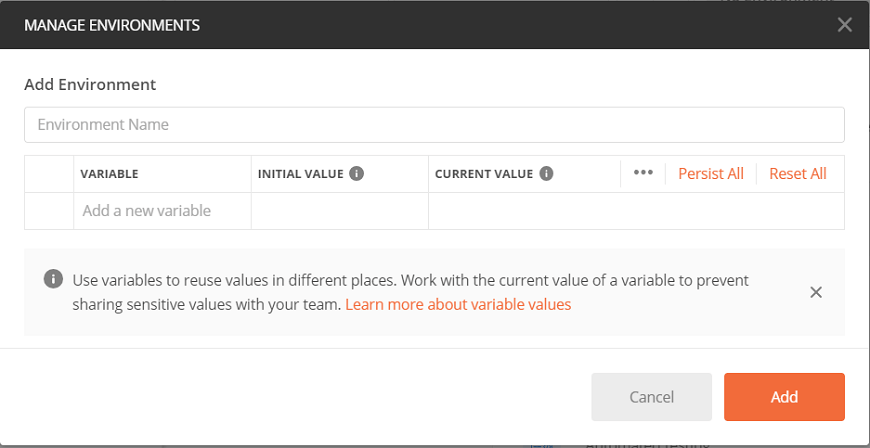 The new button also provides some advanced features like Documentation - to create documentation for API, Mock server- to create in-development APIs, Monitor- to test API performance, API - for managing all aspects of APIs, including design, development, and testing.
You may use the Import option for importing files in different formats into the software. As seen in the image below, you can import Postman collection and Environment files from any location and can run it through postman. 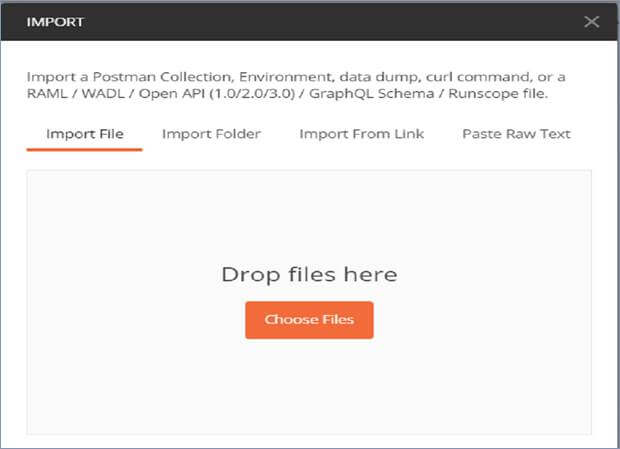
This option helps to directly run the loaded collections in the Postman. 
This option is used to open a new Tab, a new Postman window, and a new Runner window. 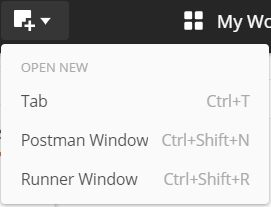
This option helps you to view, manage, and create personal as well as team workspaces. Collections, monitors, environments, and mocks are components of the workspace. 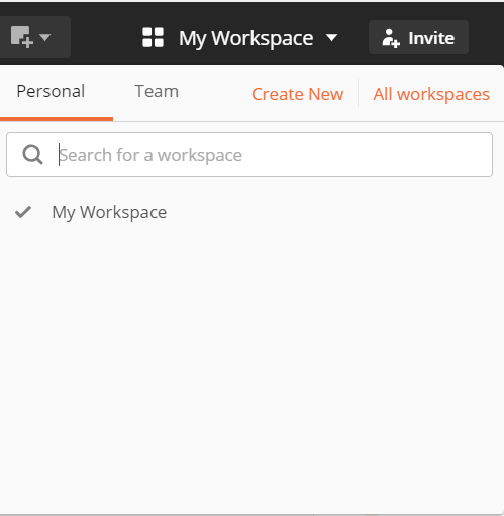
This is used to invite other users into your team to collaborate with them for team workspace. As seen in the image below, this can be done by entering the email address or uploading the list of people to invite them. 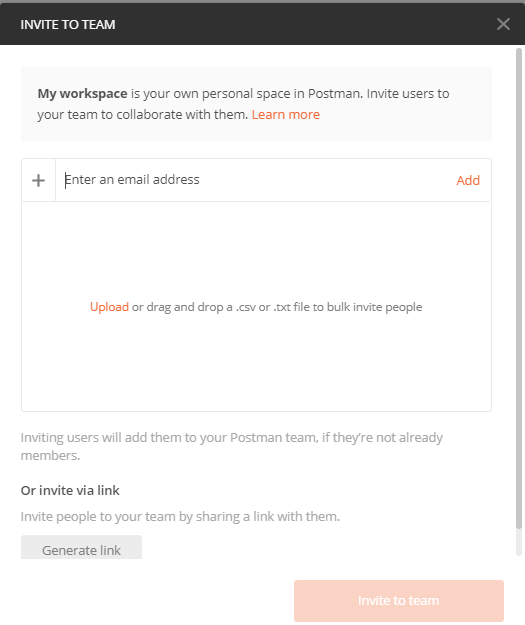
This option is used to synchronize the API requests that you send from other devices and updates your postman account status. 
The interceptor option is a proxy server, used to capture all the requests that you send through browser or phone or from any other device.
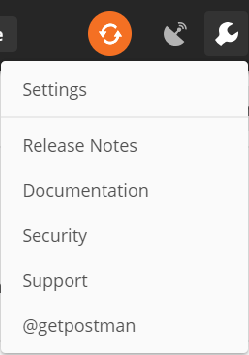
It shows all the notification of the Postman app. 2. Sidebar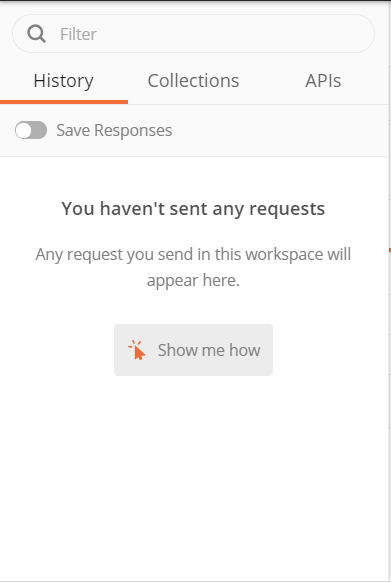

All the APIs are listed in this section. New API can also be created from this tab. 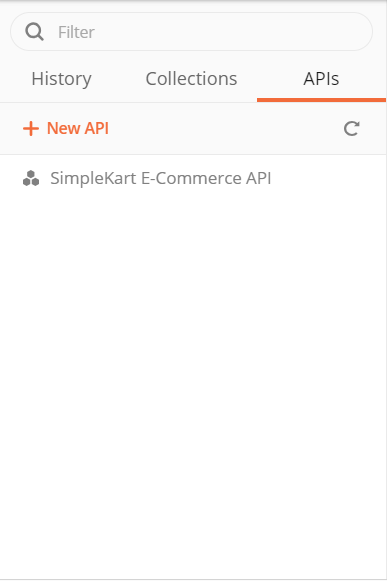 3. Builder or Request section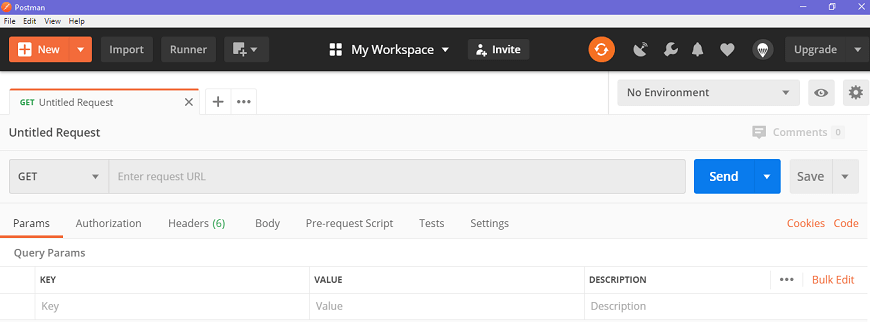
'Untitled request' is basically the default request title you are working on. The title depends on the type of request method you are working on, as shown in the image below. 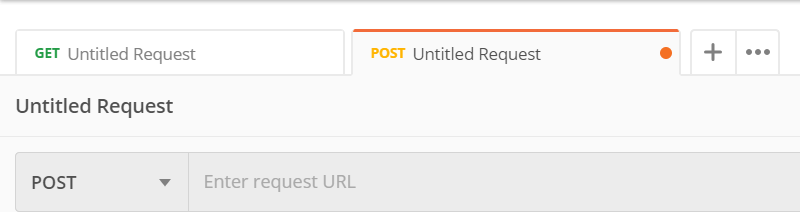
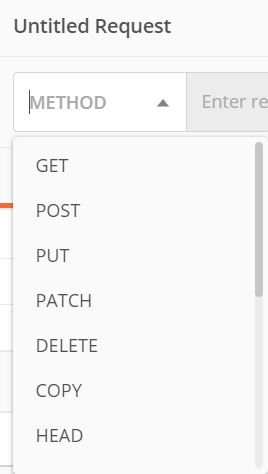 This option opens a drop-down list of all the HTTP request methods, as shown in the image like GET, DELETE, PATCH, OPTIONS, LINK, POST, COPY, UNLOCK, PURGE, etc. In general, we mostly use POST and GET. We will discuss these requests in later chapters.
This URL option is like any other browser URL. In this, we mention the link to where the API will communicate with. 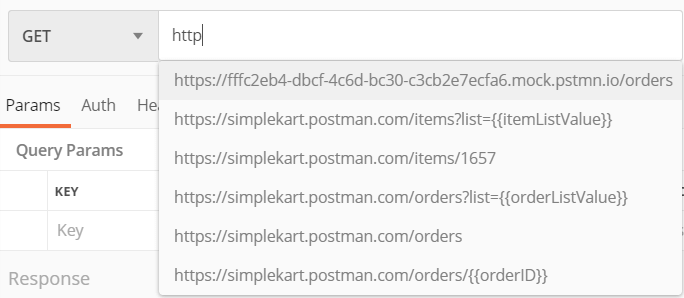
This option is used to write the parameters of the request. These parameters include key values and descriptions. 
The authorization process is required to access the APIs. This process verifies whether you have permission from the server to access the data you want. We will discuss this as a complete chapter later on. 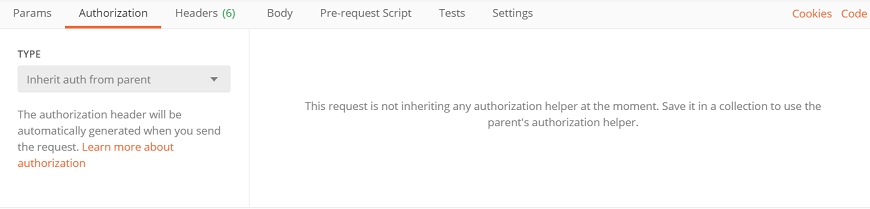
An HTTP request header is the additional data that is required to send along with the request. This header information is required for proper two-direction communication between the client and the server.
It let you specify the data type that you need to send with a request. There are various types of body data that you can send to match your API. 
These are written in JavaScript, and as the name suggests, these are executed before sending the request. Generally, these scripts are for setting the environment and ensuring that the request is running in the right environment. 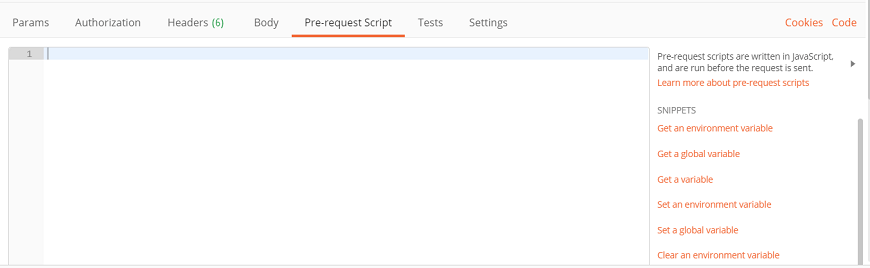
It is executed during the request. It is also written in JavaScript. This helps you to ensure that API works as intended. Testing is important as it sets up checkpoints to verify whether the response status is ok and retrieved data is as expected. 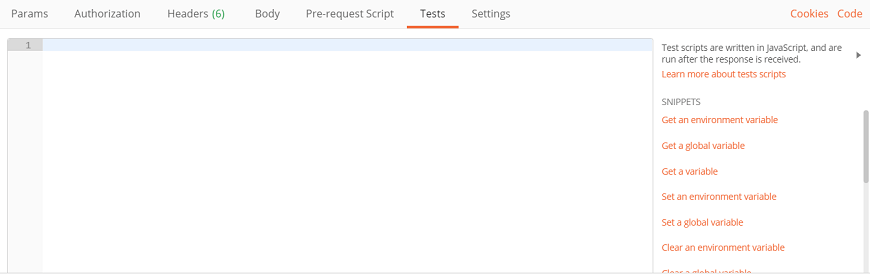 4. Response sectionThe API responses which are sent back from the server are shown in the response window. These are generated after you send an API request to the server. As we have not sent any request, so there is no response in our case. 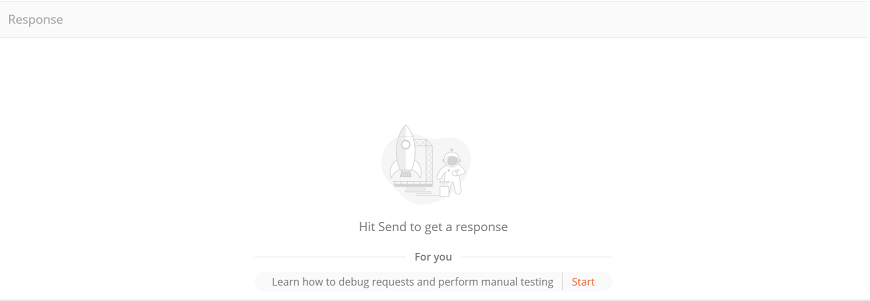
Next TopicSending Your First Request
|