Often you may want to autofill dates in Google Sheets. Fortunately this is easy to do using the simple drag and fill feature built into Google Sheets.
The following examples show how to autofill dates in Google Sheets in practice.
Example 1: AutoFill Days in Google Sheets
To autofill a list of days in Google Sheets, simply type in one date to start:

Then hover over the bottom right-hand corner of the cell until a tiny “+” appears. Then click and drag down to however many cells you’d like in the same column:
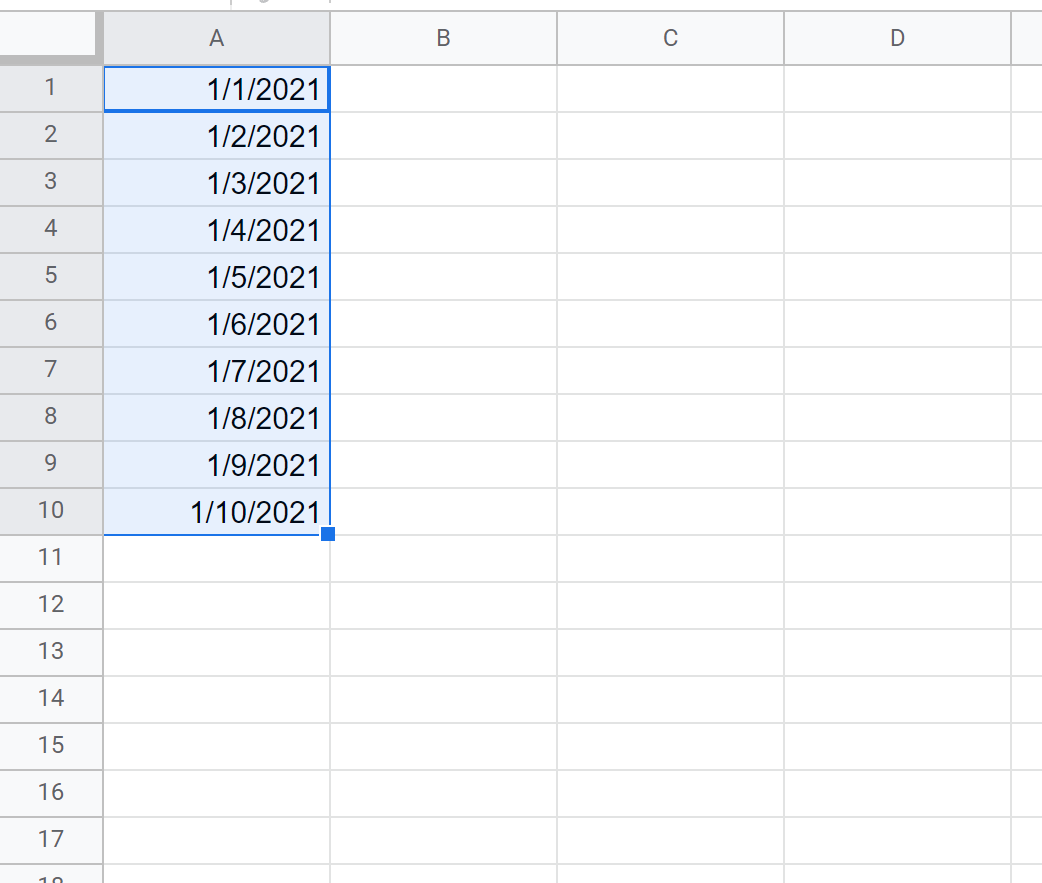
The result is a list of consecutive days.
Example 2: AutoFill Weeks in Google Sheets
To autofill a list of weeks in Google Sheets, simply type in two dates that are exactly one week apart:
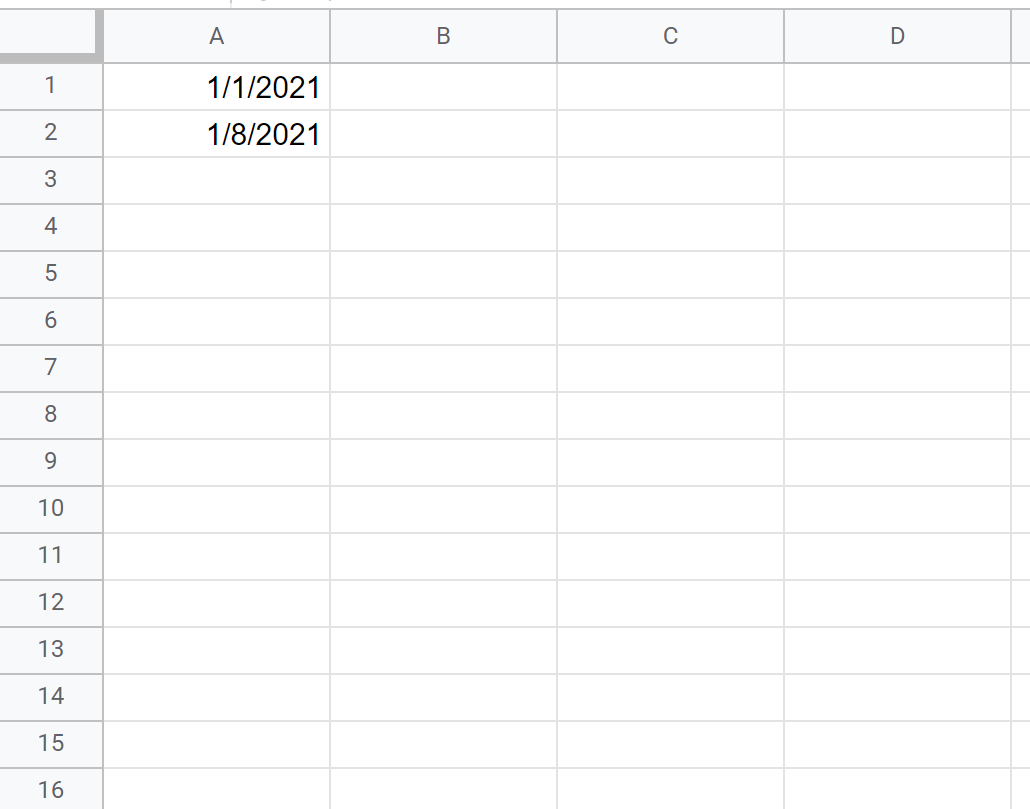
Then highlight both cell A1 and cell A2, then hover over the bottom right-hand corner of cell A2 until a tiny “+” appears.
Then click and drag down to however many cells you’d like in the same column:
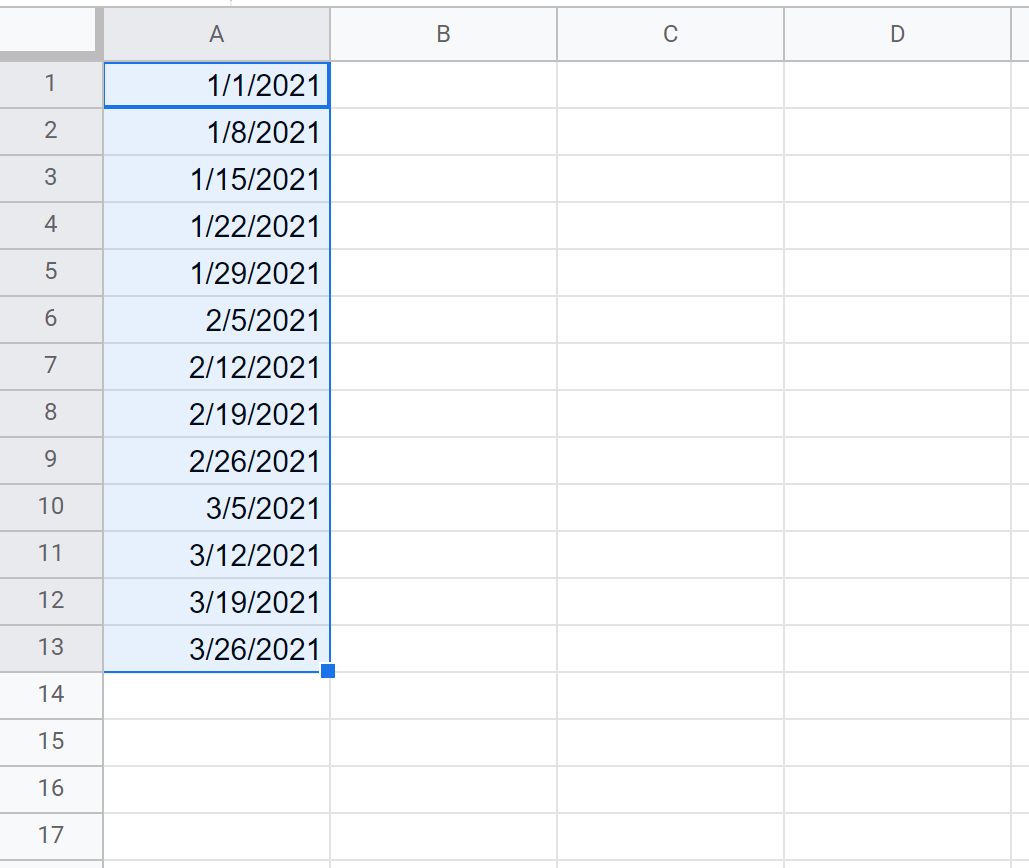
The result is a list of consecutive weeks.
Example 3: AutoFill Months in Google Sheets
To autofill a list of months in Google Sheets, simply type in two dates that are exactly one month apart in cells A1 and A2.
Then highlight both cell A1 and cell A2, then hover over the bottom right-hand corner of cell A2 until a tiny “+” appears.
Then click and drag down to however many cells you’d like in the same column:
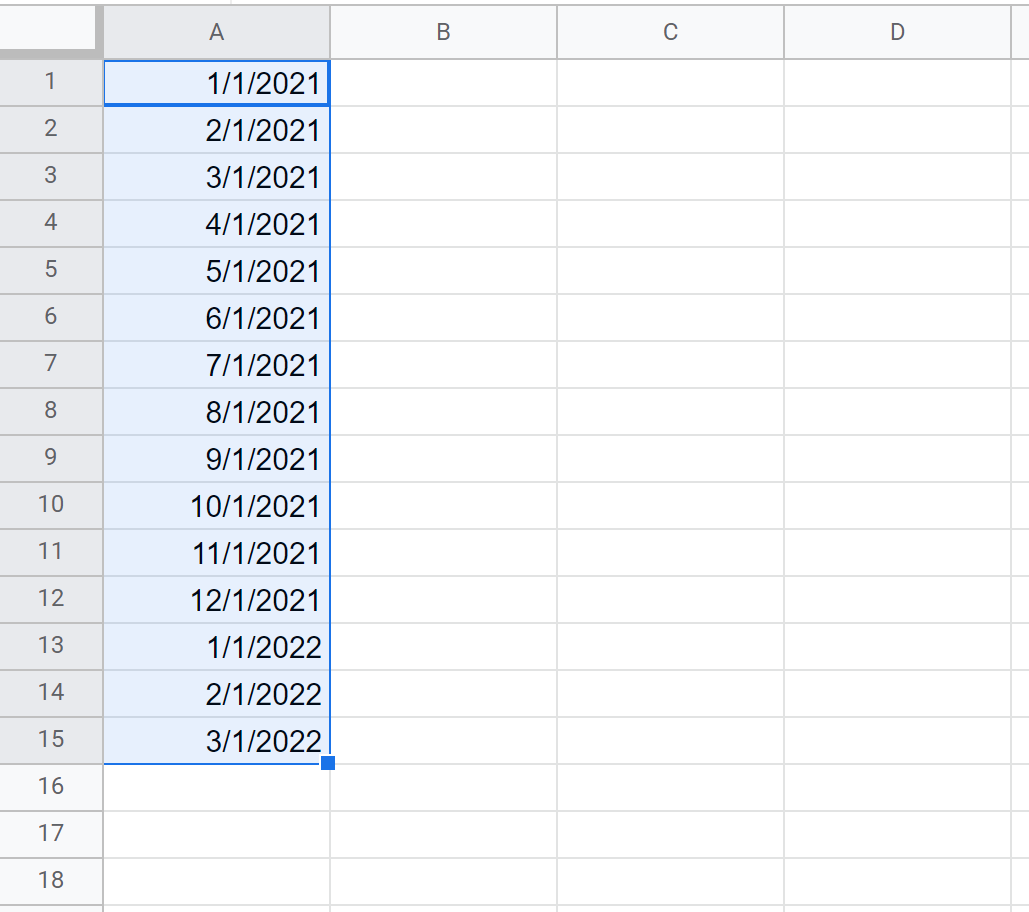
The result is a list of consecutive months.
Additional Resources
The following tutorials explain how to perform other common operations with dates in Google Sheets:
How to Calculate the Difference Between Two Dates in Google Sheets
How to Add & Subtract Days in Google Sheets